9 min read
5 Do's and Don'ts of Installing Electric Underfloor Heating
When it comes to building or even renovating, you only want to do it once, or it becomes a very costly exercise. And while most homeowners like to...
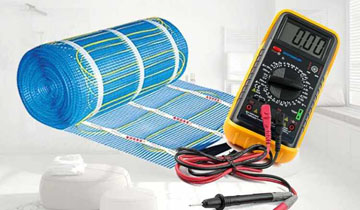
One of the most important steps when installing an electric underfloor heating system is the testing. Once the final floor finish is laid it can be extremely frustrating to have to remove a section of the floor covering in order to fix an issue that would have been prevented by proper testing during installation.
A good installer will test the electric underfloor heating three times:
Once these tests are done the results should be recorded on the table in the instruction guide and handed to the homeowner. The homeowner can then use this information to register the warranty on our website.
Testing an electric underfloor heating cable is easy. All you need is a basic electric multi meter like this. We recommend using a meter that has clips at the end of the probes because it is easier to get an accurate resistance reading without having to hold the cables.
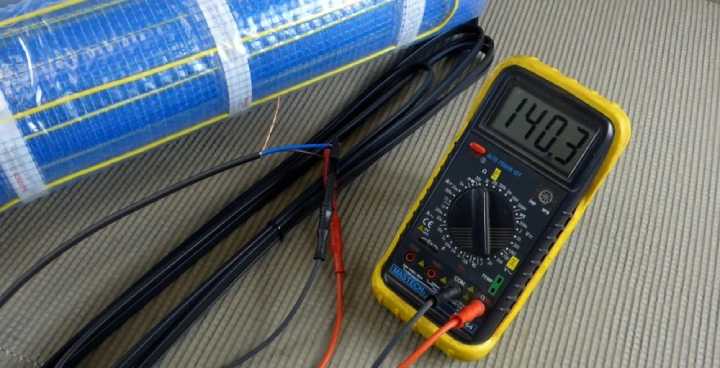
The resistance of the cable is what make it heat up, so checking the resistance of the underfloor heating cable is very important and will ensure that your floor heats up as expected. This resistance test makes sure that the resistance value of the heating cable is the within the tolerance of the factory test results.
Watch the video for a visual guide
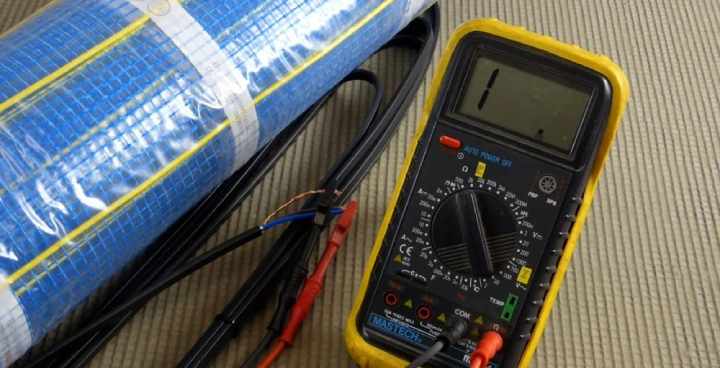
This test makes sure that there are no breaks in the insulation of the heating elements by checking that there is no detectable resistance on the earth wire.
If there is any break in the insulation there will be a “leak to earth” which results in the RCD being tripped and your heating won’t switch on. Doing an insulation test will find this problem before it happens and give you a chance to rectify it.
To do an insulation resistance test with a multi meter follow these steps:
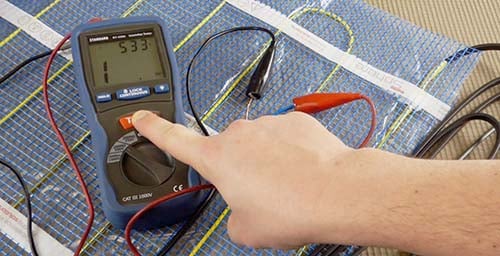
Sometimes a break in the insulation can be so small that it cannot be detected until there is a voltage flowing through the underfloor heating wires. This can be the case if the underfloor heating passes both tests with a multi meter but trips the RCD as soon as the heating is switched on. To check for this issue you should isolate the underfloor heating form the electrical supply and test with an insulation tester.
To do an insulation resistance test with an insulation tester follow these steps:
Members of our ThermoSphere Connect Installer Rewards Programme benefit from a limited number of free replacement underfloor heating cables/mats if the system is damaged during installation before the final floor finish is laid. Sound good?
Our friendly and knowledgeable team are available from 07.00 – 17.00 Monday to Friday and you can contact us by phone, email, or use the instant chat on our website. Contact us today or give us a call on 0800 019 5899.
Complete the short form and you'll receive a fast quote turnaround time along with the right product details for your property or project.
Need it even quicker? Call our HQ and one of the team will be happy to help on 0800 019 5899.

9 min read
When it comes to building or even renovating, you only want to do it once, or it becomes a very costly exercise. And while most homeowners like to...
6 min read
One of the most common fears of underfloor heating is the fear of it ‘going wrong’ or stopping working altogether. “Can electric underfloor heating...
19 min read
Who are the top 5 electric underfloor heating brands for 2022? Straight off the bat, you may be thinking ‘Why is a British manufacturer of electric...